Getting Started

Chapter 5: Projects

5.1 Create a new project

Paramount Decisions allow you to create projects to group decisions together. You can think of a project as a folder that contains several decisions. Each decision needs to be part of a project. There are several way to create a new project. You can create a new project from:

  • Your main Dashboard after you have signed in.
  • From the Project page in the navigation menu.

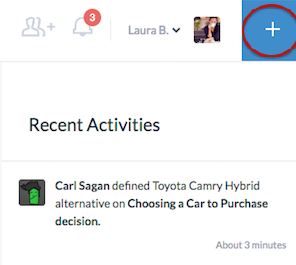
The easiest way to create a new project is from the blue plus sign located on the top right corner of all pages.

To create a new project:

  1. Click the sign.
  2. Select that you want to create a Project.
  3. Fill out the fields, such as Project name, Description, Tags etc. The only required field here is the Project Name. The remaining fields can also be filled later.
  4. Click Create Project.

5.2 View all projects

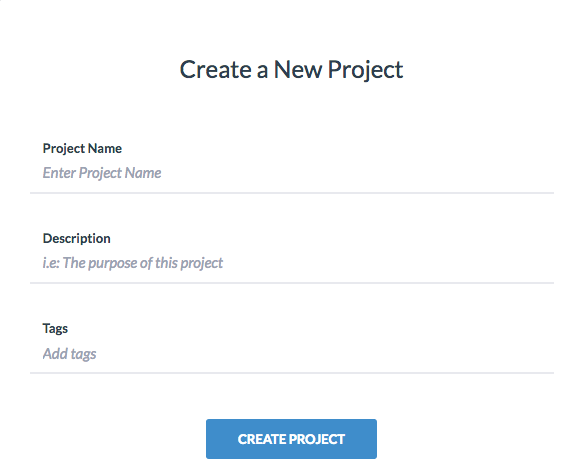
Your 3 most recent or active projects will be shown in your dashboard. To view all projects, click View All, or go to the Project page from the left navigation menu.

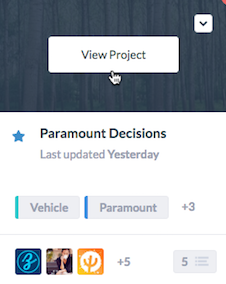
Inside the project page, your starred project will be placed on the top, while all projects are placed below. Each project is placed on a project box, with some key info regarding the project such as: Collaborators, Tags, Number of Decisions inside the project, Last Update.

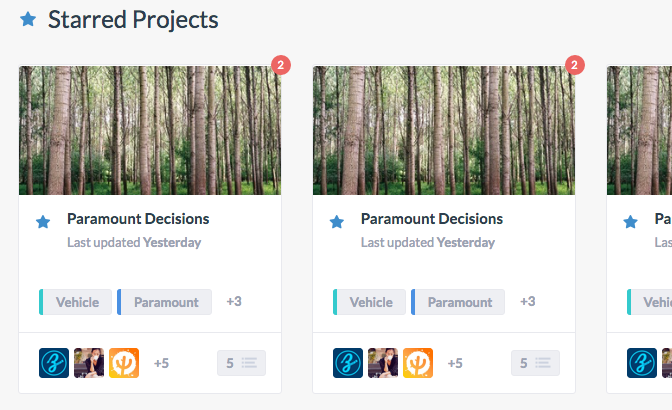
Star a project to make it easier to find in the top of the Project page. To star a project, click on the star on the project box and it will turn to blue .

To View a Project:

  1. Hover over the project image
  2. Click on View Project to go the Project Summary

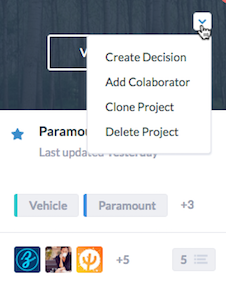
Click on the dropdown list to:

  • To Create a Decision inside this Project
  • To Add Collaborators to this Project.
  • To Clone the Project
  • To Delete the Project. Notice: All the decisions inside the Project will also be deleted.

5.3 Project Summary

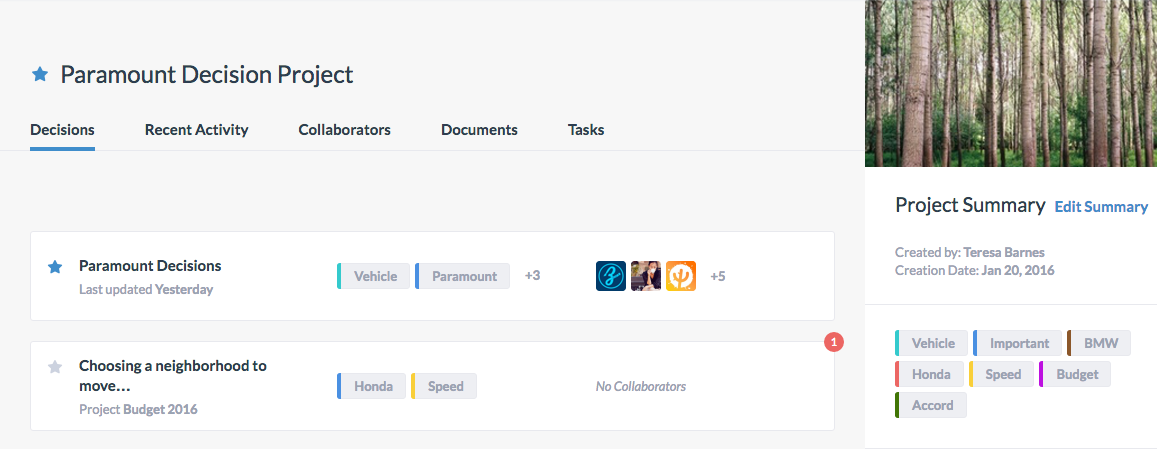
Once you have selected a project to view, you will be directed to the Project Summary page. The project summary page contain info related to the project, such as Project Objective, Background, Tags, Creation Date etc. Click Edit Summary to edit the info, or upload a project image.

In addition, you can use the tab menu to:

  • View/add Decisions to the project
  • View Recent Activities
  • View/add Collaborator to the project
  • View/add Documents to the project
  • View/add Tasks to the project

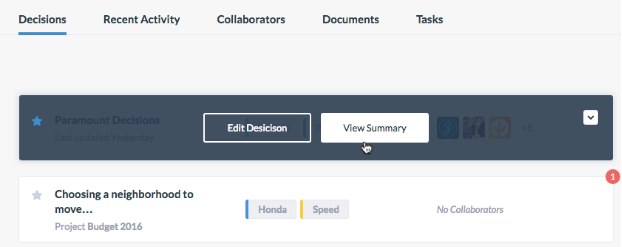
To view or add a decision to the Project:

  1. Click Decisions from the menu tab
  2. Hover over a decision and click View Summary or Edit Decision.
  3. Click Create a New Decision if you want to add a new decision to this project.

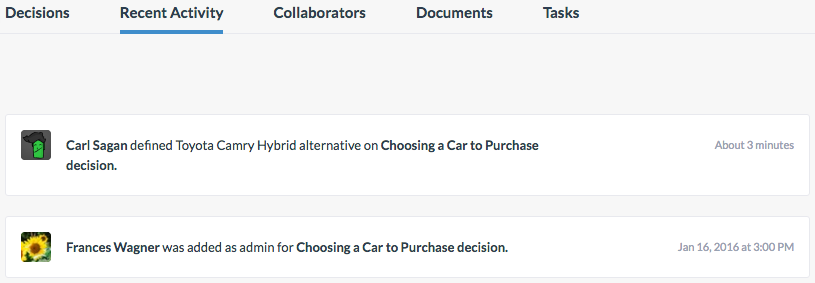
To view recent changes in the project:

  1. Click Recent Activity in the tab menu.

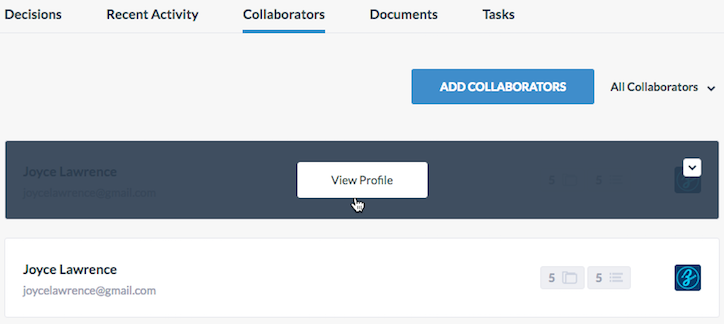
To view or add a collaborator to the Project:

  1. Click Collaborators from the tab menu
  2. Hover over a collaborator and click View Profile if you want to preview their profile
  3. Click Add Collaborator if you want to add a new collaborator to the project.

To view or add a document to the Project:

  1. Click Documents from the tab menu
  2. Click on the document to open it.
  3. Click Add Document if you want to upload a new document to the project.

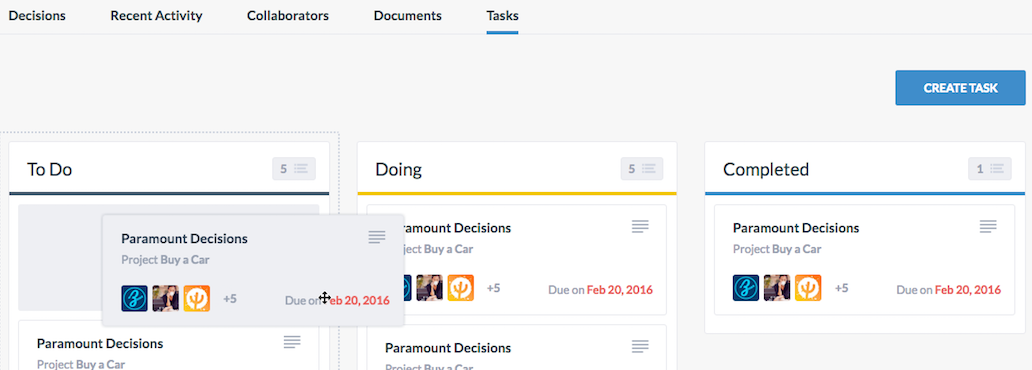
To view or add a task to the Project

  1. Click Tasks from the tab menu
  2. Drag & Drop to change the task status
  3. Click Create Task to add a new task, and assign it to yourself or other team member.