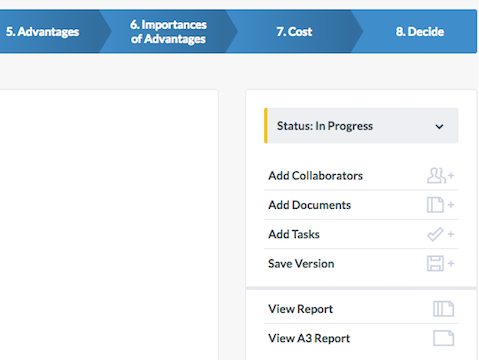
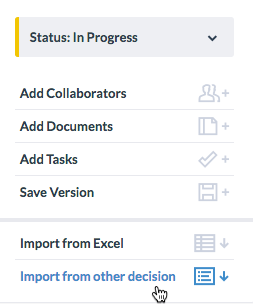
The action box includes several tools to help you during the decision-making process. The tools included depends on the step, and you can find it in the right menu inside the 8 steps of the decision-making process. From the action box you can change the decision status, invite collaborators to the decision, upload documents related to the decision, Assign tasks, save a particular version of the decision, and much more.
Update your decision status by marking the decisions as:
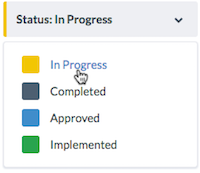
You can also change a decision status from the Decision Status page, as described in Chapter 8 of this guide.
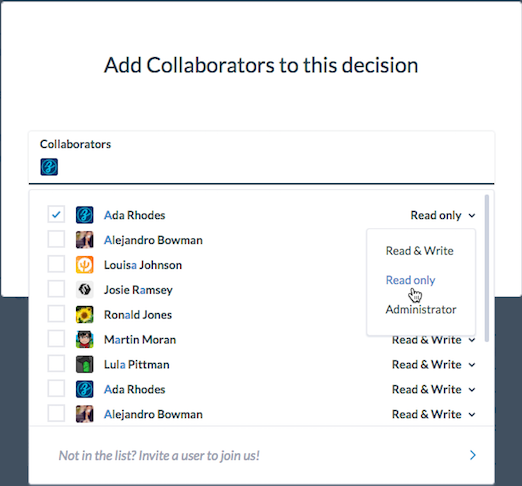
Using Paramount Decisions, you can invite all decisions stakeholders or team members to work with you on the same decision. All changes to your decision are automatically updated and synced with all collaborators and on every device.
You can define what kind of access you will give your collaborators. You can select between the following role:
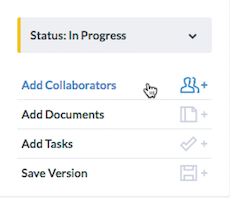
To add a collaborator to the decision:
You can also add a collaborator to a decision from the Project Summary page, Decision Summary page and Collaborator page, as described in Chapter 5.3, 6.2 and 10.
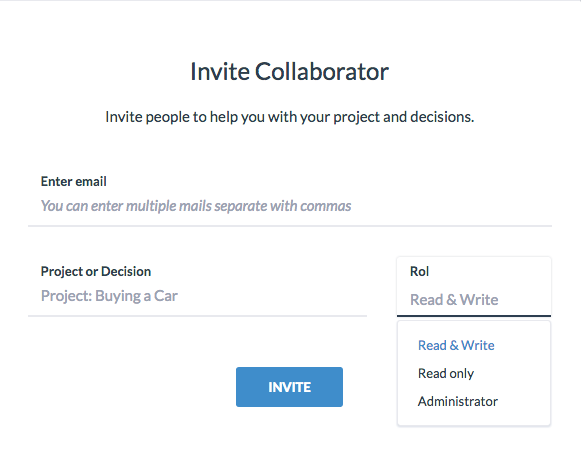
If the user is not on the list, you need to invite the user to start using Paramount Decision. To invite a new user:
The new user will get an email with an invitation, and will be added to Paramount Decision when the invitation is accepted.
You can also add a collaborator to a decision from the Project Summary page, Decision Summary page and Collaborator page, as described in Chapter 5.3, 6.2 and 10.
Using the action box, you can add an attachment or any relevant documents to your decision, or view all the documents related to a particular decision.
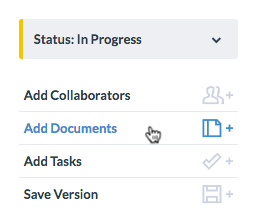
To add a document:
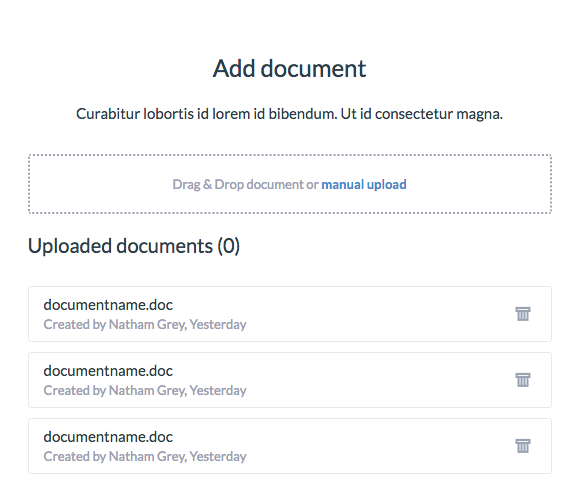
You can also upload a document to a project or a decision from the Project Summary page, Decision Summary page, as described in Chapter 5.3 and 6.2.
Using the action box, you can create tasks related to the decision, and assign those tasks to yourself or for those involved in the decision.
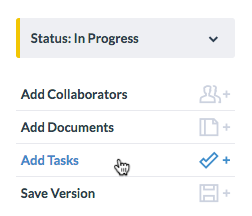
To Add a Task:
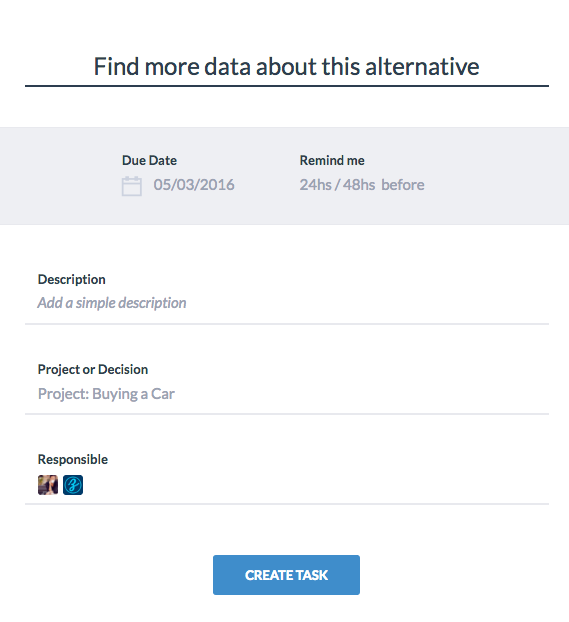
You can also add a task to a project or a decision from the Project Summary page, Decision Summary page, as described in Chapter 5.3 and 6.2. Chapter 9 shows how you can manage your tasks and follow the progress of your team.
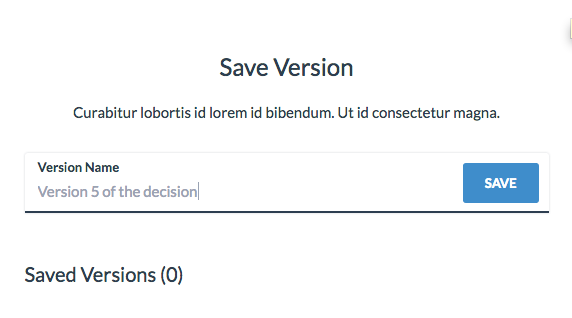
Paramount Decisions saves multiple versions of your decisions automatically, and allow you to go back and preview earlier versions of the decision. You can also save a particular version of the decision at anytime.
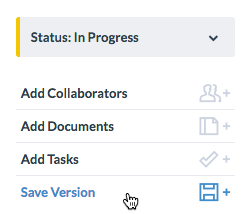
To Save a New Version:
You can also find an overview of previously saved versions on the list, or from the Project Summary page and Decision Summary page, as described in chapter 5.3 and 6.2.
In some cases, you might have created a list of your Alternatives or Factors on Excel and want to include them in your decisions. Paramount Decisions allows you to easily import your Alternatives or Factors from Excel. To do so, your data need to be formatted properly. Please download our Excel template and use it as a guide or follow the instructions on how to order the data.

To Import from Excel:
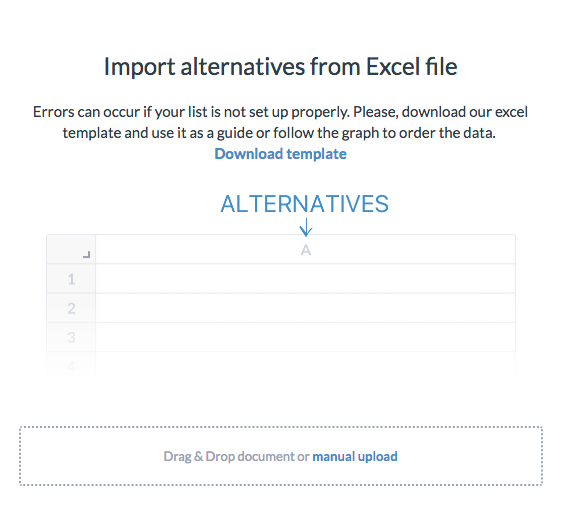
Remember: You can only import from Excel from Step 2 and 3 inside the decision. You can only import Alternatives and Factors (including Criteria). from Step 2 and 3 inside the decision
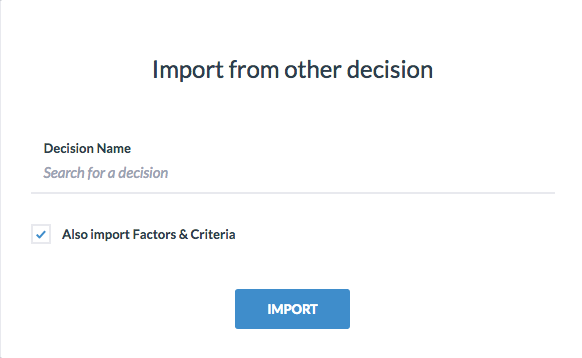
Using the action box, you can also import Alternatives and Factors (including Criteria) from any of the previous decisions you have created using Paramount Decisions. This allows you to save time by reusing previous data.
To Import from another decisions:
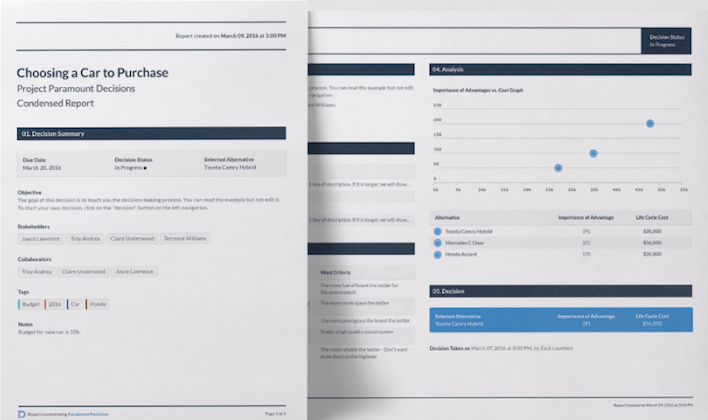
Paramount Decision allows for transparent and auditable decisions making process. Once you complete your decision, a report is generated automatically from the information you have added in the decision-making process. The report is organized in an easy-to-follow manner, and you can use it to communicate the rationale of your decision with other stakeholders who may or may not have been part of the decision-making process. For the participants of the decision, the report can be revisited in the future for continuous learning and improvement. You can chose between a full report, or a condensed report in an A3 format.

To view a Report:
Paramount Decisions help you enhance the collaboration with your team and allow you to add comments to any of the steps inside the 8-step decision-making process. You can comment on a single part, such as one particular alternative or add a general comment inside the comment box.
To add a Comment to a particular part:
 next to the particular item you want to comment on.
 it if it require additional attention.
The number of comments for a specific item will be shown like this
 . You can click on the comment icon if you want to review or add more comments.
To add a general comment regarding the decision or to a particular step:
it if it require additional attention.From the comment box, you can also view all the comments added to the decision.
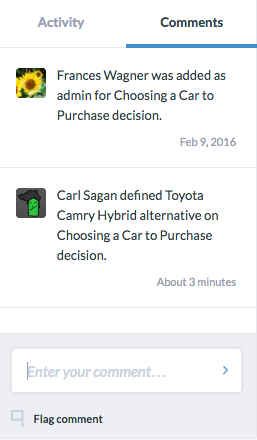
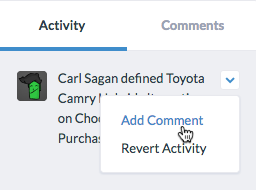
From the activity box, you can view all recent activities for the decision, add a comment to a particular activity, or revert the activity.
To view and comment on activities: