Chapter 1: Account
1.1 Create a new account
To create a new account in Paramount Decisions:
- Visit www.paramountdecisions.com
- Click on Sign Up Free
- Enter your Email and Password, check for I accept Terms & Conditions, and click Create Account.
- Confirm your Email address

1.2 Login
To login to your account in Paramount Decisions:
- Visit paramountdecisions.com
- Click on Login
- Enter your Email and Password
- Click Sign In

1.3 Forgot Password
If you forgot or want to reset your password:
- Click on Login
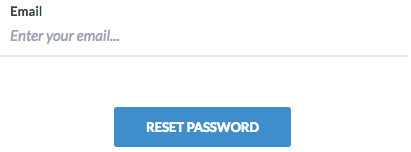
- Click on Forgot Password in the bottom of page.
- Type your email, and click on Reset Password
- Check your email for temporary password. The password reset email may end up in your spam folder so be on the lookout for it. Your temporary password will expire after 24 hours.
1.4 Changing Password
If you forgot your password, please refer to the previous section to obtain your temporary password. If you just want to change your password:
- Click on Login to access your account.
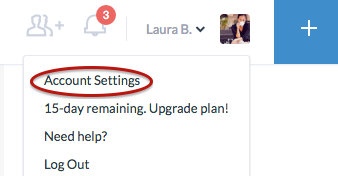
- Go to your Account Settings from the drop down menu next to you name.
- Click on Password
- Enter your old password, then type and repeat your new password.
- Click Save
1.5 Settings
To go to your account settings:
- Click on Login to access your your account.
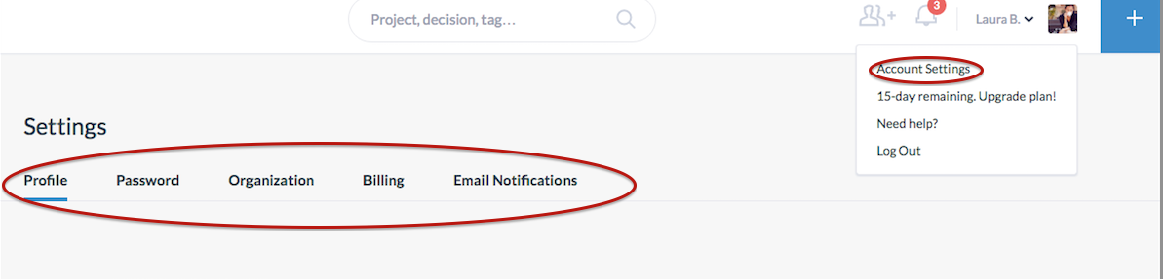
- Click on Account Settings from the drop down menu next to you name.
- Click on Profile to change and edit your profile, and add a profile picture
- Click on Password to change your password.
- Click on Organization to add your company logo in order to include it on all reports. Add your company email to allow all new users that register to Paramount Decisions using your company domain to be
added to your organization.
- Click on Billing to view and change your plan
- Click on Email Notifications to modify the notifications frequency.
1.6 Plans & Billing
To view your plan, add or update your billing information:
- Login to your account
- Click on Account Settings from the drop down menu next to you name.
- Click on Billing
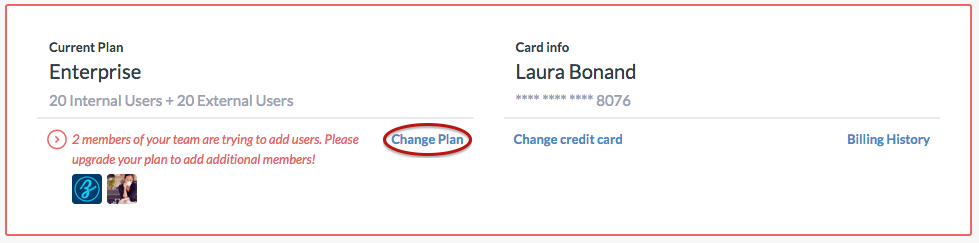
- Click on Change Plan to view and change your plan
- Click on Change Billing to update you credit card info
- Click on Billing History to view and download all invoices.

From the Billing page, you can also view all members in your plan, add or delete internal organizational users or external users. Internal organizational members need to have the same email domain as defined
in Organization. Internal members have full access to all features, including: creating projects, decisions or templates. External members can only work on projects or decisions they have been invited
to.
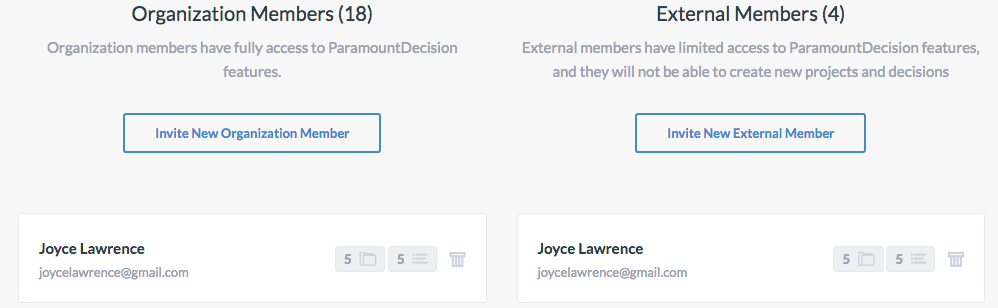
If you have reached your current plan limit, and you or someone else in your organizations are trying to invite new users, you will get an alert telling you to upgrade your current plan to add additional members. Please follow the instructions defined
earlier in this section to upgrade your plan. For each additional paid internal member, you get an external member for free.